Stucco can be a beautiful material for the exterior of a house or building. It’s durable and requires little maintenance if it’s properly taken care of. However, it does occasionally need to be repaired. Stucco can be stained by dirt, rust or even mildew.
Mix a second batch of stucco, this time using one part cement materials and three to five parts sand. Once this batch has a thumbprint hard sheen, score it horizontally with a rake or notched trowel.
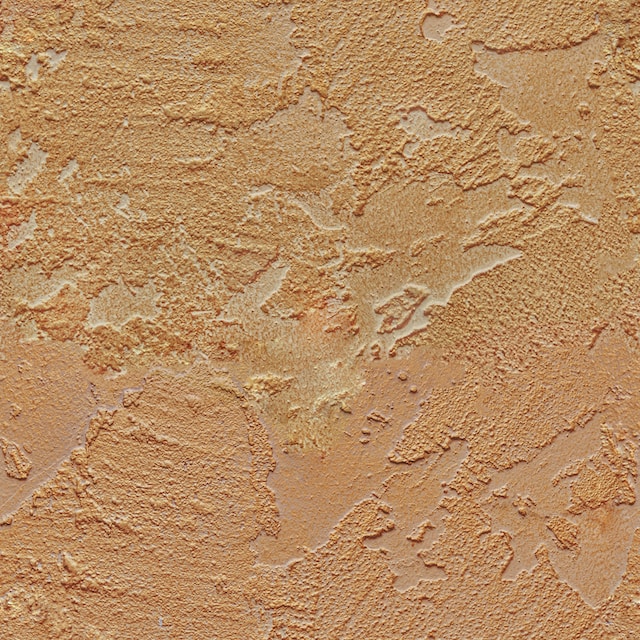
Preparing the Surface
Stucco can be a beautiful and practical way to remodel the exterior of your home. However, it can be time consuming and expensive. Getting the surface prepared properly will make the process more efficient and help ensure a high-quality result. The most important thing to do is keep the surface moist during the curing period. Using a spray bottle or fogger can be effective for this purpose. Misting the surface several times a day will help prevent cracking during drying. In some climates, it may take up to 21 days for the brown coat to cure completely.
Stucco is applied in either two or three layers, depending on the style of finish desired. The first layer is called the scratch coat and is normally about 10mm (3/8 inch) thick. It is brushed onto the power-washed and roughened surface of masonry walls or laths. It is then’scratched’ to provide a key for the second coat.
The scratch coat should completely encase the reinforcement, and while still wet it is scored horizontally with a rake. This will provide a mechanical bond with the second coat, and reduce the tendency for the stucco to crack at the studs. If you are repairing old damaged stucco, the existing mortar should be removed down to the bare brick or concrete block, and any areas of loose masonry or wood must be carefully inspected and repaired.
Building paper can be used to protect the sheathing from moisture damage, as well as to ensure a smooth surface for the subsequent layers of stucco. This material should be hung in accordance with local building codes, and the vertical seams should overlap by at least four inches. The paper should also be secured to the studs with galvanized nails.
Another method that can be used to prevent moisture damage under the stucco is to install a weep screed along the bottom of the wall. This will allow any moisture that collects behind the stucco to drain out and avoid causing rot or other structural damage in the house.
If you are building a new house or doing major renovations, it is worth considering EIFS (Exterior Insulated Façade Systems) instead of traditional stucco. EIFS is more durable and easier to repair, and it can be used in a wider variety of weather conditions.
Mixing the Stucco
The first step in a successful stucco job is to properly mix the stucco. There are three different mixing methods for stucco, and which one you use will depend on your project size and desired outcome. The barrel/mortar mixer method is ideal for large jobs because it uses a machine to stir the materials together. However, this method can be expensive and dangerous if not used correctly.
The bucket method is a good alternative to the mixer method because it’s much more affordable and doesn’t require any special tools. To make this method work, you’ll need a five gallon bucket, a drill, and a paddle attachment. You can also opt for a wheelbarrow to make this method even more efficient. Finally, you’ll need a trowel for applying the stucco and a rubber float for smoothing it once it’s applied.
When you’re mixing the stucco, it’s important to follow the proper ratios. A ratio of one part Portland cement to one part hydrated lime and three parts sand-by-weight or volume-is typically recommended for most applications. It’s also a good idea to add water-reducing agents and plasticizers to the mixture to prevent cracking once it’s applied.
Once you’ve mastered the basic recipe, you can experiment with textural effects. You can create a pebbled surface by dragging a piece of corrugated cardboard through the wet stucco, or you can smooth out peaks and bumps by running the trowel over the surface. Just be sure to practice your techniques on a scrap piece of stucco before you apply them to your real-life home!
Stucco isn’t a good choice for homes in flood-prone areas because it can be damaged by excess moisture. It’s also not recommended for homes in hot, sunny regions because it can dry prematurely and develop hairline cracks. To avoid these issues, pick a mild day to start working on your project and try to keep the work area as cool as possible while it’s drying.
It’s also a good idea to dampen the wall before applying the stucco, as this can help prevent cracking due to rapid drying. After the stucco is applied, it’s a good idea to mist it periodically with a garden hose to keep it moist while it dries.
Applying the Stucco
Stucco is an enduring and beautiful option for upgrading the appearance of your home. But, to ensure that it lasts, you must keep it properly maintained. Mildew, mold and efflorescence (a white powdery coating that develops after prolonged moisture exposure) can stain the stucco and damage it over time. So, it is important to regularly inspect the walls for these issues and take steps to correct them.
To help protect the walls, it is necessary to install expansion joints and corner trim pieces. These joints are located where there are changes in the substrate of the wall and allow for the movement that occurs during thermal expansion and contraction. The corner trim also helps to create clean lines and protects the exposed edge of the stucco from water and dirt.
It is important to use only high-quality cement when applying the stucco. This will prevent the formation of cracks in the surface. It is also a good idea to use the proper tools for applying the stucco. A hawk and trowel or a pneumatic system are common methods of application. However, if you are experienced, it is possible to apply the stucco using a sprayer.
The first step in the process is to apply a scratch coat, which should be approximately 1/8 of an inch thick. This layer serves as a reinforcement for the rest of the coats and must dry completely for at least 36 hours before you can resume the process. To avoid the stucco drying too quickly, it is recommended that you mist the surface periodically during this period.
After the scratch coat has dried, you can apply a brown coat which functions as another reinforcement layer. This layer should be about 1/8 of an inch thick and may include a decorative texture. The brown coat must also dry for at least 36 hours. It is a good idea to mist the surface frequently during this period to prevent the stucco from drying too quickly and becoming brittle.
The final coat is a finish coat, which should be about 1/4 of an inch thick. This layer is typically hand-troweled and may be texturized or applied as a smooth finish. This layer can also contain pigment if desired.
Painting the Stucco
Once the stucco has cured, it’s time to paint it. There are special paints designed to adhere to a rough surface like this, but any exterior paint should work just fine. The most important thing to remember when painting stucco is that it will suck up a lot of paint, so you will need much more than you would for a flat wall. A gallon of paint will probably cover 400 square feet or more, but on a stucco finish, you will need about twice that amount to get adequate coverage.
You’ll also want to make sure the surface is completely dry before you start painting. Stucco is very porous, so moisture trapped inside can lead to issues later on. A good idea is to use a moisture meter, which can be purchased at most hardware stores or online.
Once the surface is dry, you’ll need to address any patches and larger imperfections. A good patching compound will be sufficient for small holes and cracks, but larger voids will need to be filled in with new stucco. You’ll need to follow the manufacturer’s guidelines when using the patching compound, including curing times.
If you’re working on a historic home, it may be a good idea to hire an experienced preservationist to help with the painting. Older houses often have a variety of different pigments in the stucco, which can be difficult to match when doing touch ups or repainting.
Depending on the age of your house, you may want to use a paint that contains a mildew inhibitor. This will prevent future mildew and mold problems, as well as keep the color from flaking off.
It’s important to mask off any areas that you don’t want to paint, such as windows and doors. You’ll need to use a high-quality paint brush or sprayer, as well as drop cloths and a dust mask. When applying the paint, be sure to blend each brushstroke into the wet paint, rather than away from it. This will prevent ridges and lap marks. Thoroughly rinse your brushes and roller covers when you’re done painting to remove any remaining solvent and store them in plastic bags.